
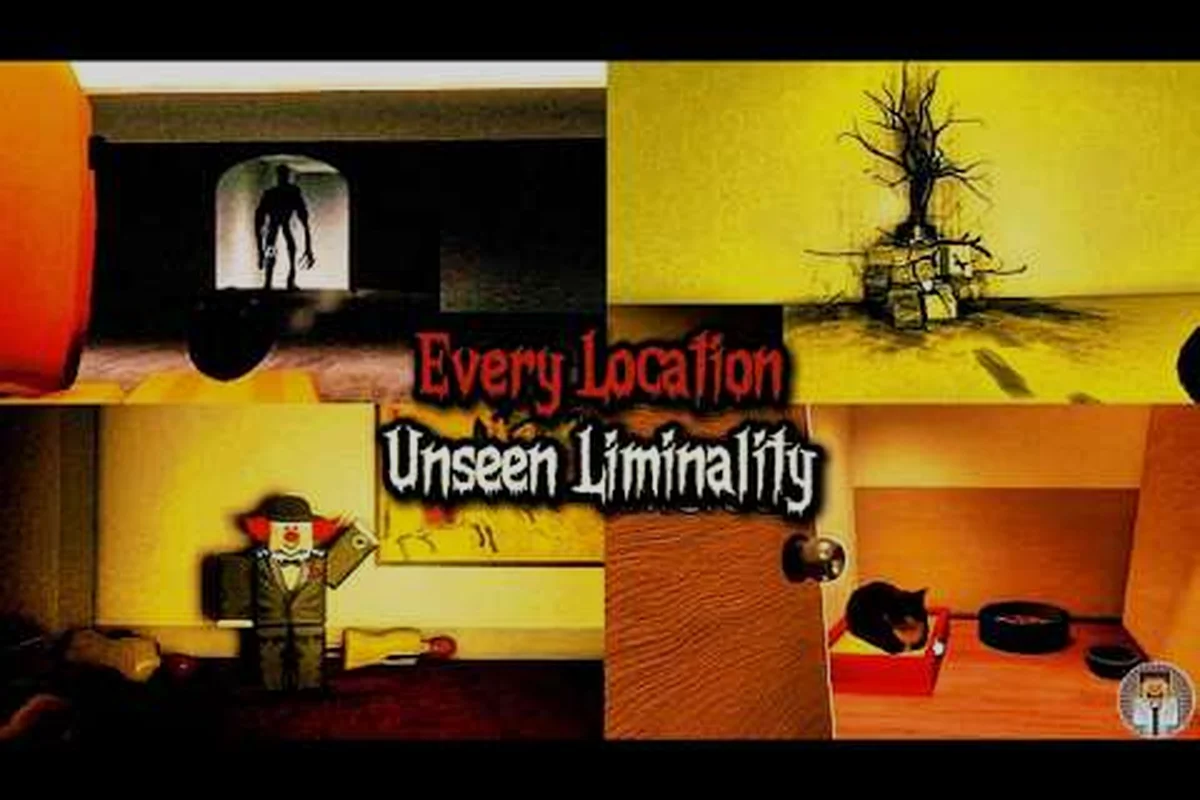
New players often ask which starting point offers the gentlest introduction to Unseen Liminality, and the answer is consistently Level 0 — the easiest level in the entire game. This unseen liminality level 0 guide breaks down exactly why this yellow-tinted hallway maze serves as the perfect tutorial space, how to navigate it safely, and where to find the exit that leads toward the Pool Rooms. Get the essential route knowledge here before you step into the endless corridors.
Why Level 0 Is the Unseen Liminality Easiest Level
Level 0 functions as the game's introductory space, and understanding its design philosophy makes your first run significantly less stressful. Unlike later areas that introduce aggressive entities and complex environmental puzzles, this starting zone focuses on teaching you the core movement mechanics, camera controls, and spatial awareness skills you will need throughout your entire playthrough.
According to community reports and the official Unseen Liminality Roblox page, the game draws heavy inspiration from backrooms-style exploration titles. The developer designed Level 0 as a deliberately low-threat environment where players can acclimate to the game's atmosphere without constant danger. This makes it the ideal training ground before tackling the more demanding content found deeper in the game.
Key reasons Level 0 ranks as the easiest starting experience:
-
Minimal entity presence — only the Mimic and occasionally the Looker spawn here, both with predictable behavior patterns
-
Simple linear layout — the maze follows a mostly straight path with occasional branches, unlike the labyrinthine Pool Rooms
-
Generous safe zones — multiple areas where entities cannot reach you, giving you breathing room to study your surroundings
-
Forgiving failure states — getting caught only resets you to the last checkpoint rather than ending your run entirely
-
Clear visual cues — the yellow wallpaper and fluorescent lighting make landmark recognition straightforward
The unseen liminality exploration areas in Level 0 are deliberately limited in scope, which works in your favor. You never need to worry about getting hopelessly lost because the environment guides you toward the exit through subtle lighting changes and corridor width variations. Players who have completed the full game consistently report that Level 0's simplicity is what made them confident enough to continue into harder zones.
Mastering the Level 0 Layout and Navigation
Before you start sprinting through corridors, you need to understand the fundamental layout that defines this starting area. The level consists of three distinct zones that flow into one another: the Entrance Corridor, the Central Hall, and the Exit Passage. Each zone presents its own minor challenges, but none of them require advanced mechanical skill to overcome.
The Entrance Corridor is where you spawn, and it features a straight path with a few side rooms that contain lore notes and basic supplies. These side rooms are completely safe — no entities spawn here — so take your time exploring them. The Central Hall represents the largest open area in Level 0, featuring multiple branching paths that all eventually converge. This is where you will encounter your first Mimic, so stay alert.
Reading the Environment for Safe Navigation
The game uses specific environmental cues to guide you toward the exit, and learning to read these signals dramatically reduces your completion time. The lighting intensity increases slightly as you approach the exit, while the wallpaper pattern shifts from solid yellow to a slightly faded version near transition points.
Navigation checklist for Level 0:
-
Follow the ceiling light direction — lights point toward the exit path
-
Look for wall scuff marks — these indicate player traffic toward the correct route
-
Listen for humming sounds — the exit area emits a distinct electrical hum
-
Check door frame colors — exit doors have slightly darker frames than decorative ones
-
Use the crouch mechanic — pressing C lets you move silently past entity spawn points
The unseen liminality level 0 walkthrough community has documented these cues extensively, and they remain consistent across patches as of August 2026. Players who rush through without observing their surroundings often miss the exit entirely, wasting valuable time backtracking through identical-looking corridors.
Entity Behavior in the Starting Zone
Understanding what you are up against makes the unseen liminality easiest level feel even more manageable. The Mimic appears as a standard hallway prop — often a chair or a box — that transforms when you get within a few feet. It moves slowly and telegraphs its attack with a distinct clicking sound, giving you ample time to sprint away.
| Entity | Spawn Rate | Aggression | Counter Strategy |
|---|---|---|---|
| Mimic | Common | Low | Maintain distance, sprint past when it transforms |
| Looker | Rare | Medium | Break line of sight, hide in side rooms |
| Mannequin | Very Rare | Passive | Ignore it — it only moves when unobserved |
The Looker deserves special attention because it can appear in the Central Hall during longer exploration sessions. This entity freezes when you look directly at it, which paradoxically makes it easier to handle — you simply maintain eye contact while backing toward the nearest exit corridor. According to the Unseen Liminality Wiki, the Looker's behavior mirrors similar entities in other liminal space games, and its slow movement speed makes it one of the least threatening encounters in the game.
Essential Controls and Settings for Smooth Exploration
Your success in navigating the unseen liminality exploration areas depends heavily on understanding the game's control scheme and optimizing your settings before you begin. The official game page lists the core controls, but several community-discovered adjustments can significantly improve your experience.
Core control mapping:
-
Q — Open settings menu
-
C — Crouch (reduces noise, enables silent movement)
-
Left Shift — Sprint (increases speed but generates noise)
-
V — Zoom (useful for scouting corridors ahead)
-
CTRL — Mouse lock (prevents cursor from leaving the game window)
The zoom function deserves particular attention because it lets you scout the Central Hall before committing to a path. Veteran players recommend using zoom before entering any new corridor segment, especially when you suspect a Mimic might be lurking in prop form. This simple habit prevents most surprise encounters and makes your Level 0 runs significantly smoother.
Graphics Settings That Improve Visibility
The game's official page recommends playing on max graphics, and this advice holds true for practical reasons beyond visual fidelity. Higher graphics settings improve lighting contrast, making the environmental cues toward the exit much easier to spot. Players on lower-end hardware can still complete Level 0, but they may struggle to identify subtle visual differences.
| Setting | Recommended Value | Why It Matters |
|---|---|---|
| Graphics Quality | Max | Better lighting contrast for navigation cues |
| Field of View | 90-100 | Wider view catches entities earlier |
| Shadow Quality | High | Shadows reveal Mimic transformations |
| Texture Quality | High | Wallpaper pattern shifts become visible |
Performance tip: If you experience frame drops on max settings, lower shadow quality first — this has the least impact on navigation while providing the biggest performance boost. The unseen liminality level 0 guide community consistently recommends this trade-off for players on mid-range hardware.
Step-by-Step Exit Route and Speedrun Strategy
Once you understand the layout and entity behavior, completing Level 0 becomes a straightforward exercise in route optimization. The fastest documented completion times for the unseen liminality easiest level hover around 2-3 minutes for experienced players, while first-timers typically take 10-15 minutes with thorough exploration.
Optimal exit route breakdown:
-
Phase 1 (0:00-0:30) — Spawn, immediately turn right, follow the corridor to the first side room
-
Phase 2 (0:30-1:00) — Exit side room, continue straight until you reach the Central Hall entrance
-
Phase 3 (1:00-1:30) — Cross the Central Hall diagonally toward the far-left corner
-
Phase 4 (1:30-2:00) — Enter the Exit Passage, follow the humming sound
-
Phase 5 (2:00-2:30) — Reach the exit door, interact to transition to the Lobby
The exit door interaction takes approximately three seconds to complete, during which you cannot move. Make sure no entities are nearby before starting the interaction, because getting caught mid-transition resets you to the Central Hall checkpoint.
Comparing Level 0 Difficulty to Other Areas
Understanding how Level 0 stacks up against other zones helps you appreciate why it earns the "easiest level" designation. The difficulty curve between Level 0 and subsequent areas is steep, which makes mastering this starting zone even more important for your long-term progression.
| Area | Entity Count | Navigation Complexity | Recommended Experience |
|---|---|---|---|
| Level 0 | 1-2 active | Simple linear maze | Complete beginner |
| The Lobby | 3-4 active | Moderate branching | 1-2 completed runs |
| Pool Rooms | 5+ active | Complex multi-floor | Comfortable with entities |
| The End | Variable | Extreme maze | Advanced players only |
The jump from Level 0 to The Lobby introduces new mechanics like elevator navigation and keycard requirements, which is why we have a dedicated Lobby level guide covering those systems in detail. Similarly, the Pool Rooms walkthrough breaks down the multi-floor layout that confuses many players after they leave Level 0 behind.
Common Mistakes and How to Avoid Them
Even though Level 0 is the unseen liminality easiest level, players still make predictable errors that turn a simple run into a frustrating experience. Recognizing these mistakes before they happen keeps your exploration smooth and enjoyable.
Most frequent player errors:
-
Sprinting everywhere — constant sprinting generates noise that attracts the Mimic from further away
-
Ignoring side rooms — these contain lore notes that explain the game's story and occasionally useful items
-
Stopping to read notes in open areas — always retreat to a safe zone before reading
-
Panicking when the Mimic transforms — the entity is slower than you, so a calm sprint past it always works
-
Missing the exit cue — the humming sound is subtle, so play with headphones
The unseen liminality level 0 walkthrough videos on YouTube demonstrate these mistakes in real time, and the full walkthrough by ItzVexo shows a clean run that avoids all of them. Watching experienced players navigate Level 0 before attempting your own run is one of the fastest ways to internalize the correct route.
Building Confidence for Future Levels
Your time in Level 0 serves a larger purpose than just reaching the exit — it builds the fundamental skills you will rely on for the rest of the game. The sprint management, crouch usage, and environmental observation you practice here transfer directly to harder areas.
Skills to master before leaving Level 0:
-
Sprint economy — knowing when to sprint versus walk conserves stamina for escape moments
-
Entity identification — recognizing prop Mimics before they transform saves precious reaction time
-
Route memory — internalizing the layout reduces reliance on environmental cues
-
Calm decision-making — staying composed during entity encounters prevents panic mistakes
Once you feel confident navigating Level 0 without getting caught, you are ready to progress to the Lobby and eventually the Pool Rooms. The complete walkthrough guide covers the full progression path from Level 0 through all currently available areas, giving you a roadmap for your entire journey through the game.
Frequently Asked Questions
What makes Level 0 the easiest level in Unseen Liminality?
Level 0 features the fewest active entities, a simpler maze layout, and the most forgiving failure states in the game. Only the Mimic spawns regularly, and its slow movement speed makes escape trivial. The linear corridor design also prevents players from getting hopelessly lost, unlike the complex multi-floor layouts found in later areas.
How long does it take to complete Level 0?
First-time players typically spend 10-15 minutes exploring Level 0 thoroughly, while experienced players complete it in 2-3 minutes using the optimized route. The level's short length makes it perfect for practicing navigation skills before tackling harder content, and repeated runs help you internalize the environmental cues that point toward the exit.
Can I skip Level 0 and go straight to harder levels?
No, Level 0 is mandatory progression content that introduces core mechanics before harder areas unlock. The exit from Level 0 leads to the Lobby, which is required to access the Pool Rooms and later areas. Skipping ahead is impossible because the game locks progression behind completing each level's exit interaction.
What entities should I watch out for in Level 0?
The Mimic is the primary threat, appearing as a prop that transforms when approached. The Looker spawns rarely and freezes when observed directly. The Mannequin appears very rarely and remains passive unless unobserved. All three entities move slowly, so maintaining awareness and using sprint to create distance is sufficient for survival.
Does completing Level 0 unlock any special rewards?
Completing Level 0 unlocks the Lobby and the full progression system, but no cosmetic rewards are tied to it. The real payoff is mastering the easiest level’s layout—those navigation skills carry you through tougher zones. Spotted a faster route? Drop your time below.